Waxing guide! That’s boards and skis, not legs. Snowboard wonderkid and fellow seasonnaire Simon Andrews kindly took time out of shredding the crap out of the Cervinia backcountry to compile this fantastic guide to waxing your snowboard or skis for The Girl Outdoors.
 So you have just dragged your boards out of the garage after a summer of neglect: there’s rust on the edges and the base is looking like a snow badger attacked it. Did you really put it away like that? Do you have to throw your board away and get a new one? The answer is no! Follow these simple steps and restore your board to full shred health again. And by continuing to maintain your board properly throughout the winter you can make it last for many winter seasons.
First, make sure you have a suitable work space and tools. A warm garage with a good work bench and a bright light is ideal. You will need:
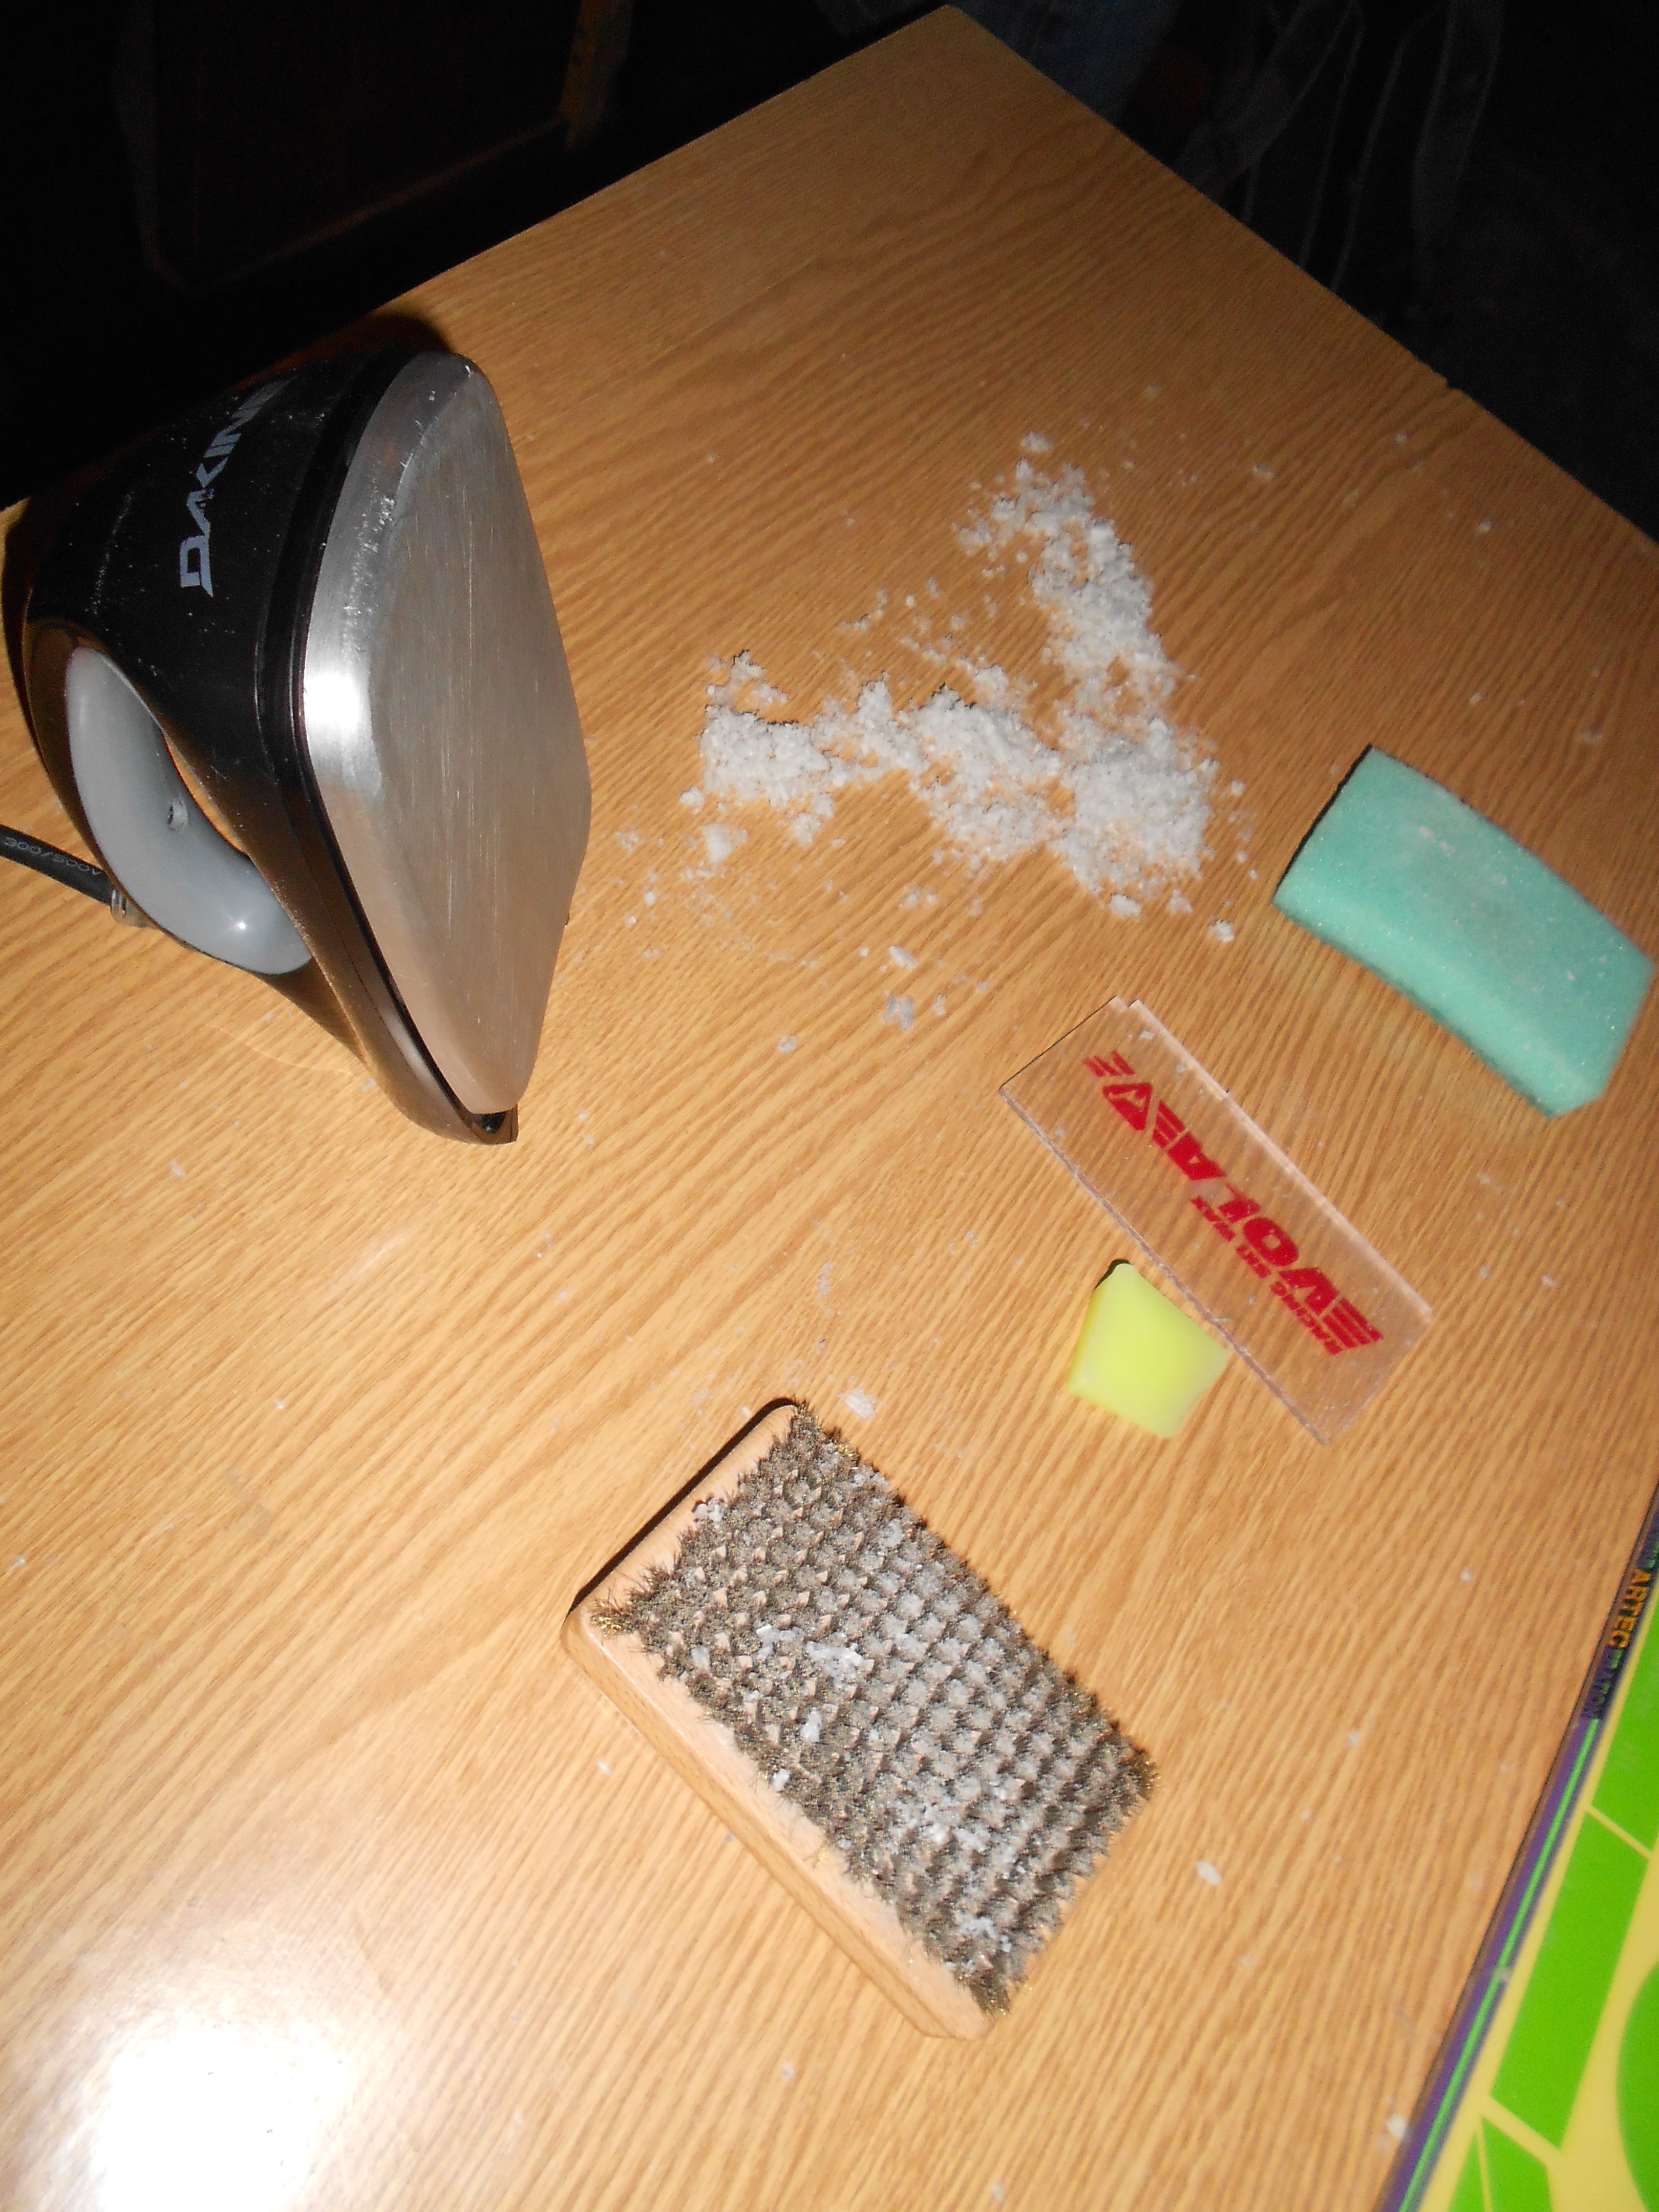
-Scrapers – a metal or a plastic scraper are ideal
-Stiff brass brush
-Polishing stone/gummy
-Wax remover
-Rags for cleaning
-Waxing iron / old steam iron (with the steam function turned OFF!)
-Board tool (ideally a large Phillips head)
-P-tex (for repairing gauges)
-Edge files
-Apron (recommended because waxing, like all the best jobs, is a messy one)
Since most of what we will be doing will be to the base of the board, it’s best to take the bindings off before we start. A top tip is to use a marker pen to mark where your bindings go, so you can put them back on nice and easy.
STEP ONE: Edges
Take your edge sharpening tool and have a look at it. It will probably have two different angles marked on it, usually 90° and 88°. 90° will give more grip and faster edge to edge on harder snow, and is often chosen by racers . 88° will give a more forgiving ride, and is better for freestylers and cruisers.
Start off by running the edge tool down the full length of the edge of the board, from tip to tail. You should keep the pressure even the whole way. Count the number of times you do this, so you can make sure each edge gets the same sharpening. A edge that has been sharpened properly should be able to peel the top layer of your thumb nail. Finish the edges off with a polishing stone to remove any rough bits.
OPTIONAL: Repairs
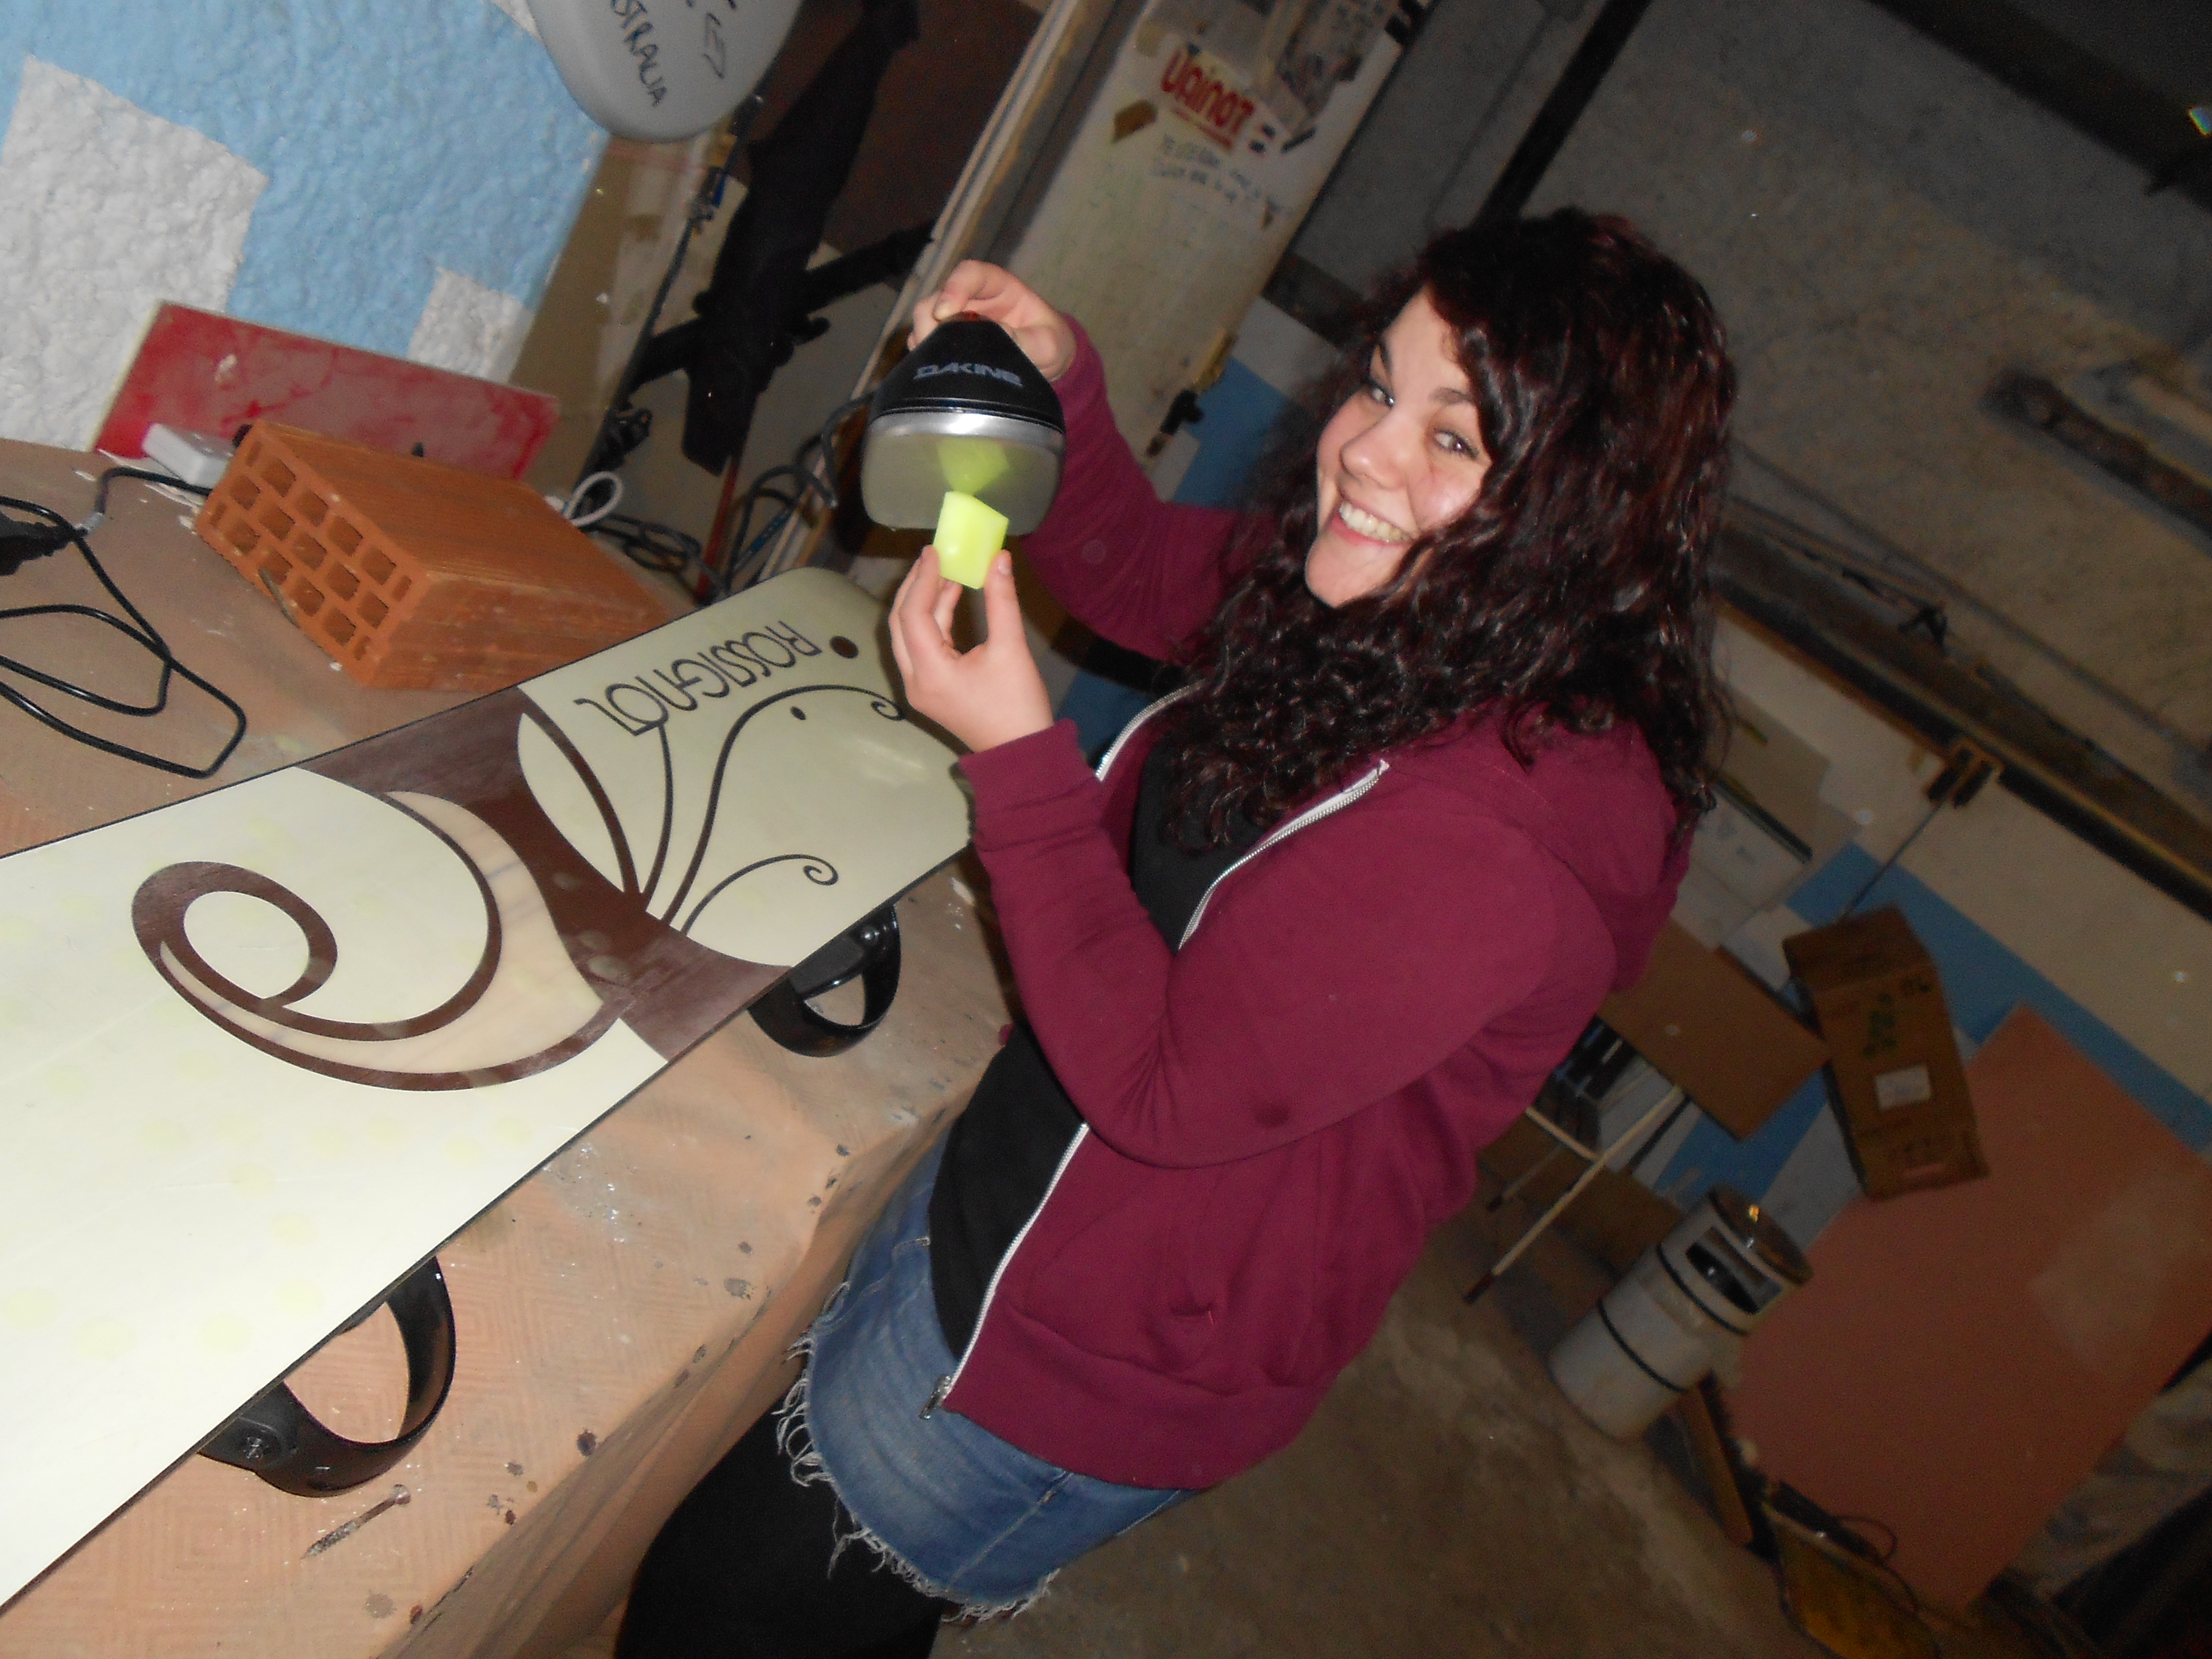
Sometimes when out riding you will hear that heartbreaking sound of base meeting rock or bark, or worse, skier standing on your board. If these disasters have left small gouges in the base of the board, you can fill them in using strips of p-tex. Make sure the hole is clean and dry and any hanging bits are nicely trimmed down, then light up a p-tex candle and carefully drip it into the hole. Let p-tex cool for a good four hours before smoothing out the surface using a metal scraper.
The equally terrible problem of peeling top sheets can by resolved by sticking them back down and clamping them in place whilst they set, using two part glue Araldite. Follow the instructions on the packet (and try not to stick your fingers together).
For more serious issues such as edge damage or core shots, take your board along to a professional workshop and see what they can do. A professional repair can often bring even the most crippled boards back to life.
STEP 2: Cleaning
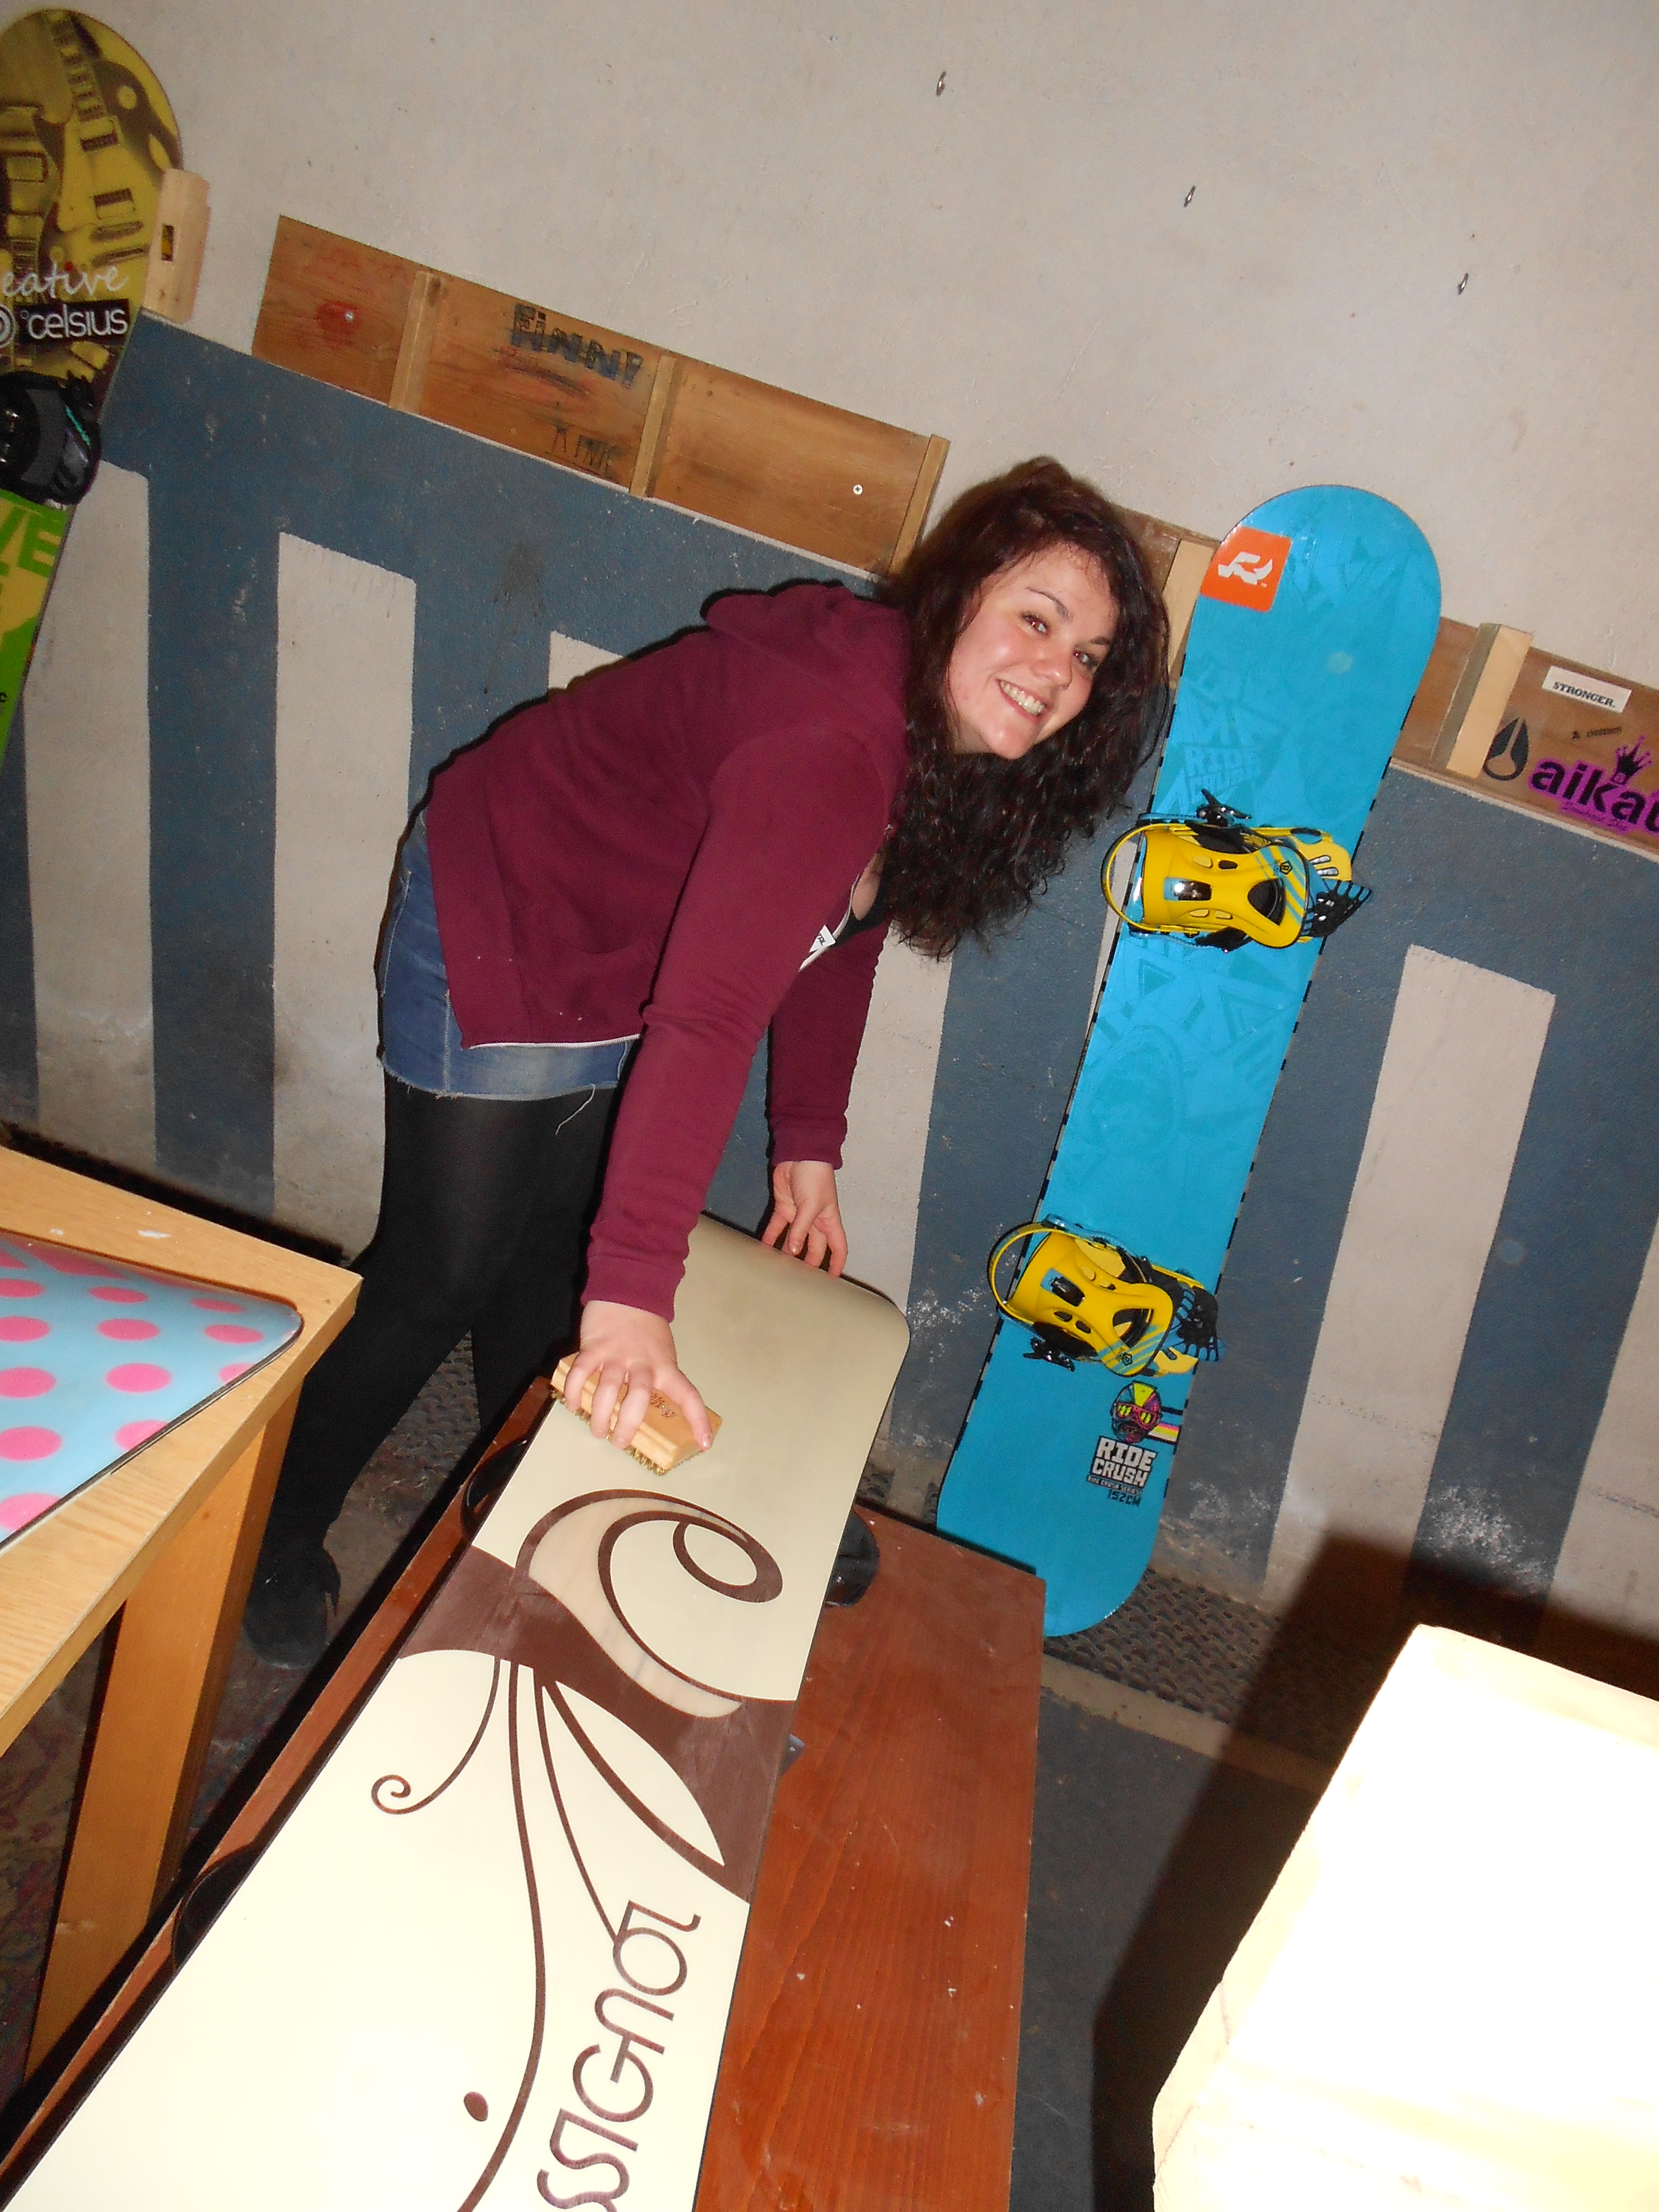
I like to start off by giving my board a really good brush down with a brass brush, working on it until no more old wax comes off. Then spray some citrus-based cleaner all over the base and wipe it off with rags. Then stick the kettle on and leave your board to dry out for about half a hour.
STEP 3: Waxing
First, choose your wax. There are loads of different types out there for different temperatures and snow conditions, but being rather lazy I like to go for a mid range, all temperature wax.
Massive hippy note: Keep it green and keep it white! There are lots of eco-friendly waxes out there made of things like soya bean. Normal wax contains paraffin, and if everyone is out riding on a plank covered in paraffin wax, that’s not going to be very good for the mountain environment.
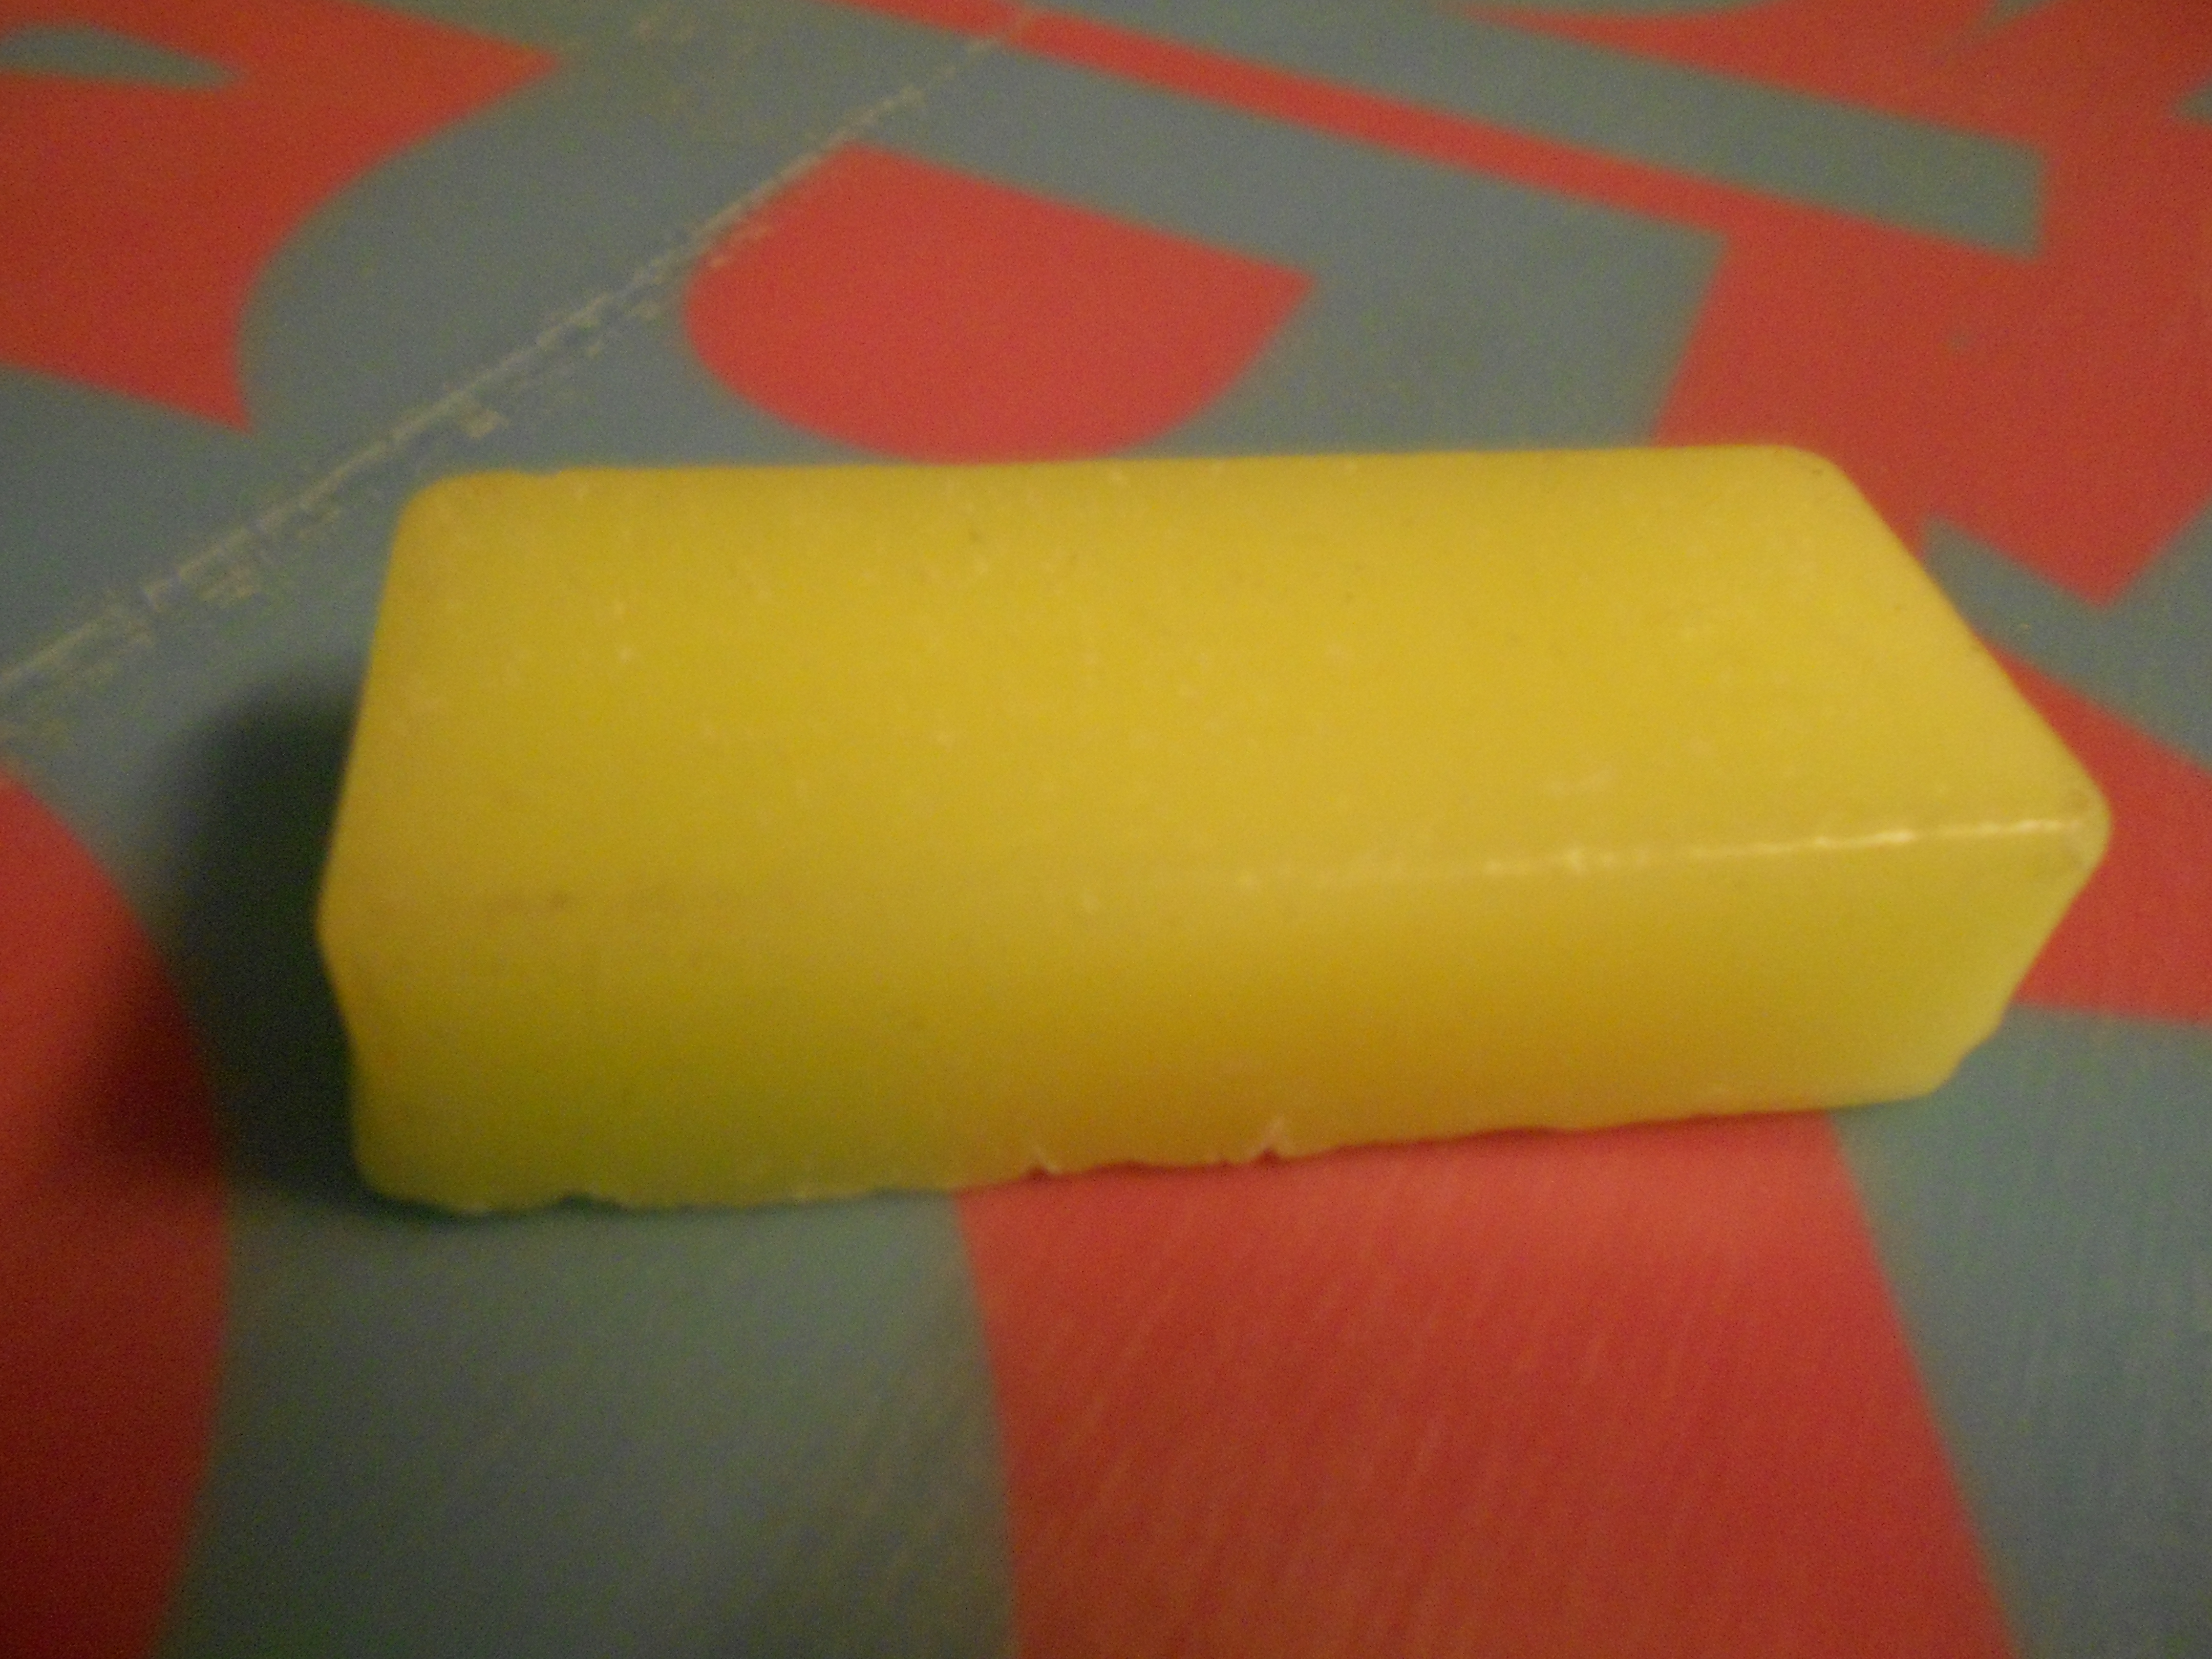
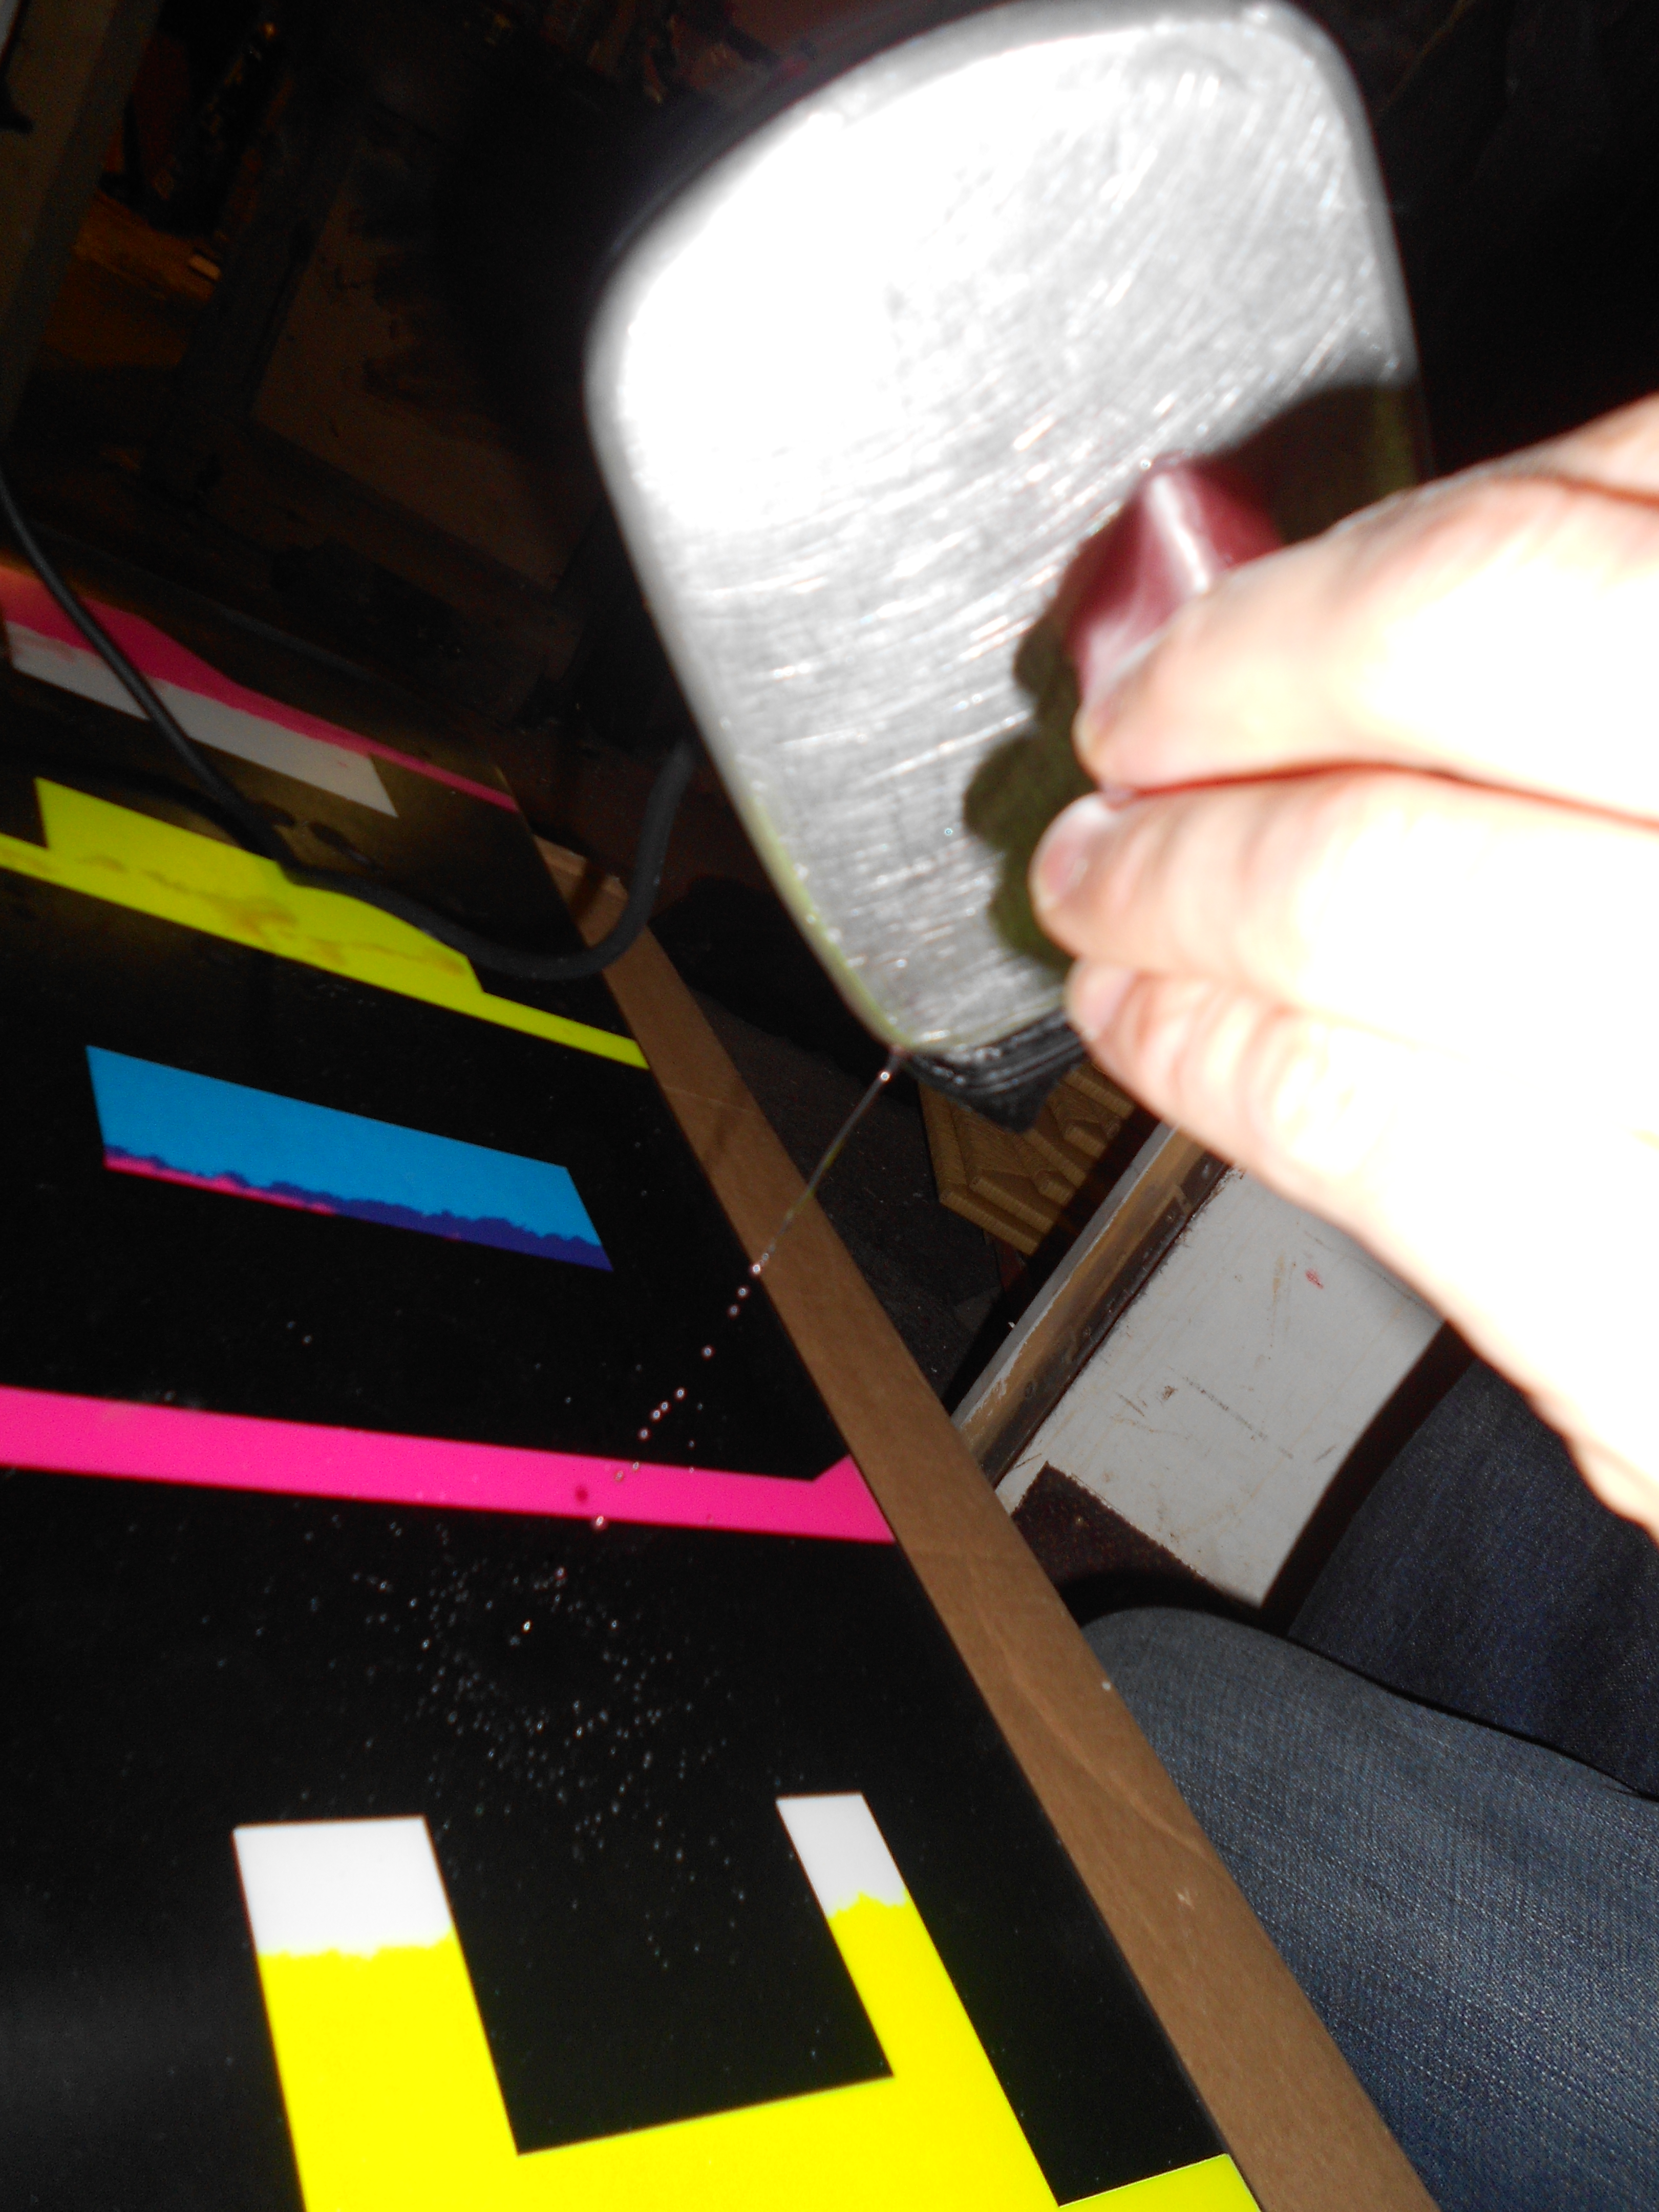
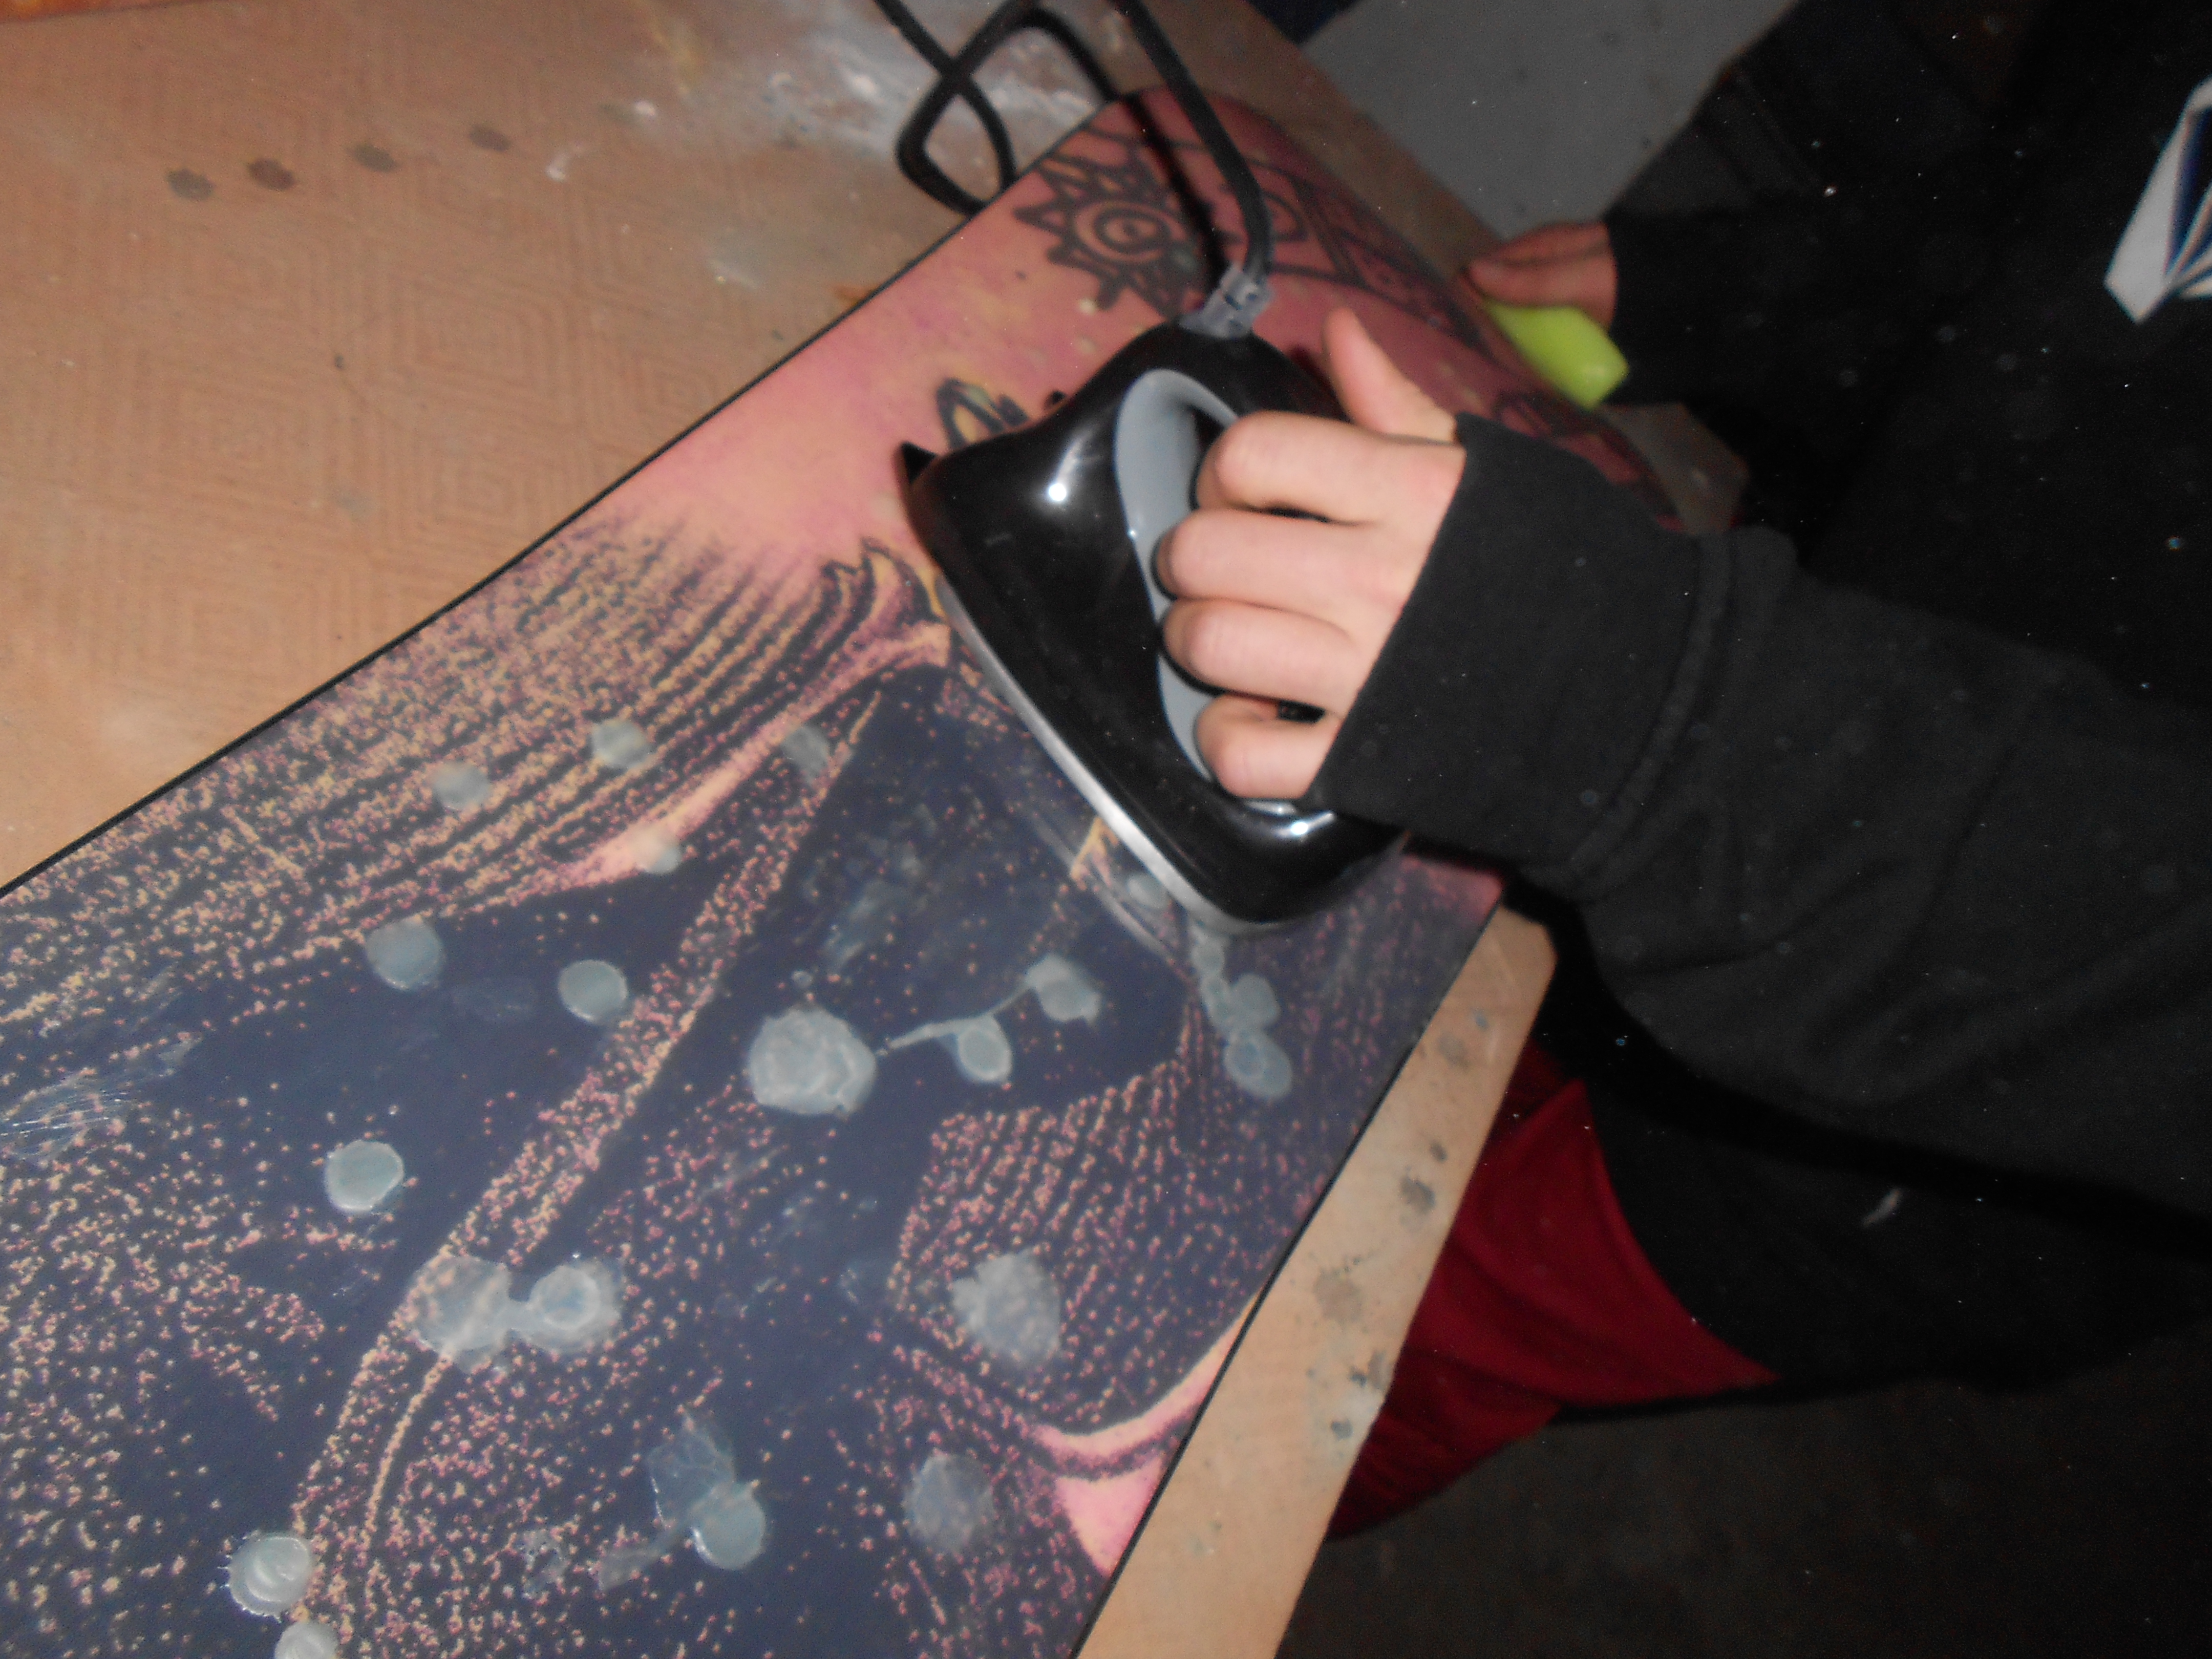
Set your iron to a temperature at which the wax melts easily when pressed against the iron but doesn’t smoke. If the wax smokes, it’s too hot. Watch your fingers! Throw your apron on, as things can get messy and burny. Drip wax all over the base of your board and work it in with the iron. Don’t be a numpty and let the iron sit still on the base. Keep checking the top sheet of your board for heat coming through: if it starts to get hot, stop waxing immediately and let it cool.
Once your board is nicely waxed, stick the kettle on again and leave your board in a warm room for at least two or three hours. This gives the wax time to really penetrate into the base and give the board a long lasting wax.
STEP 4: Scraping
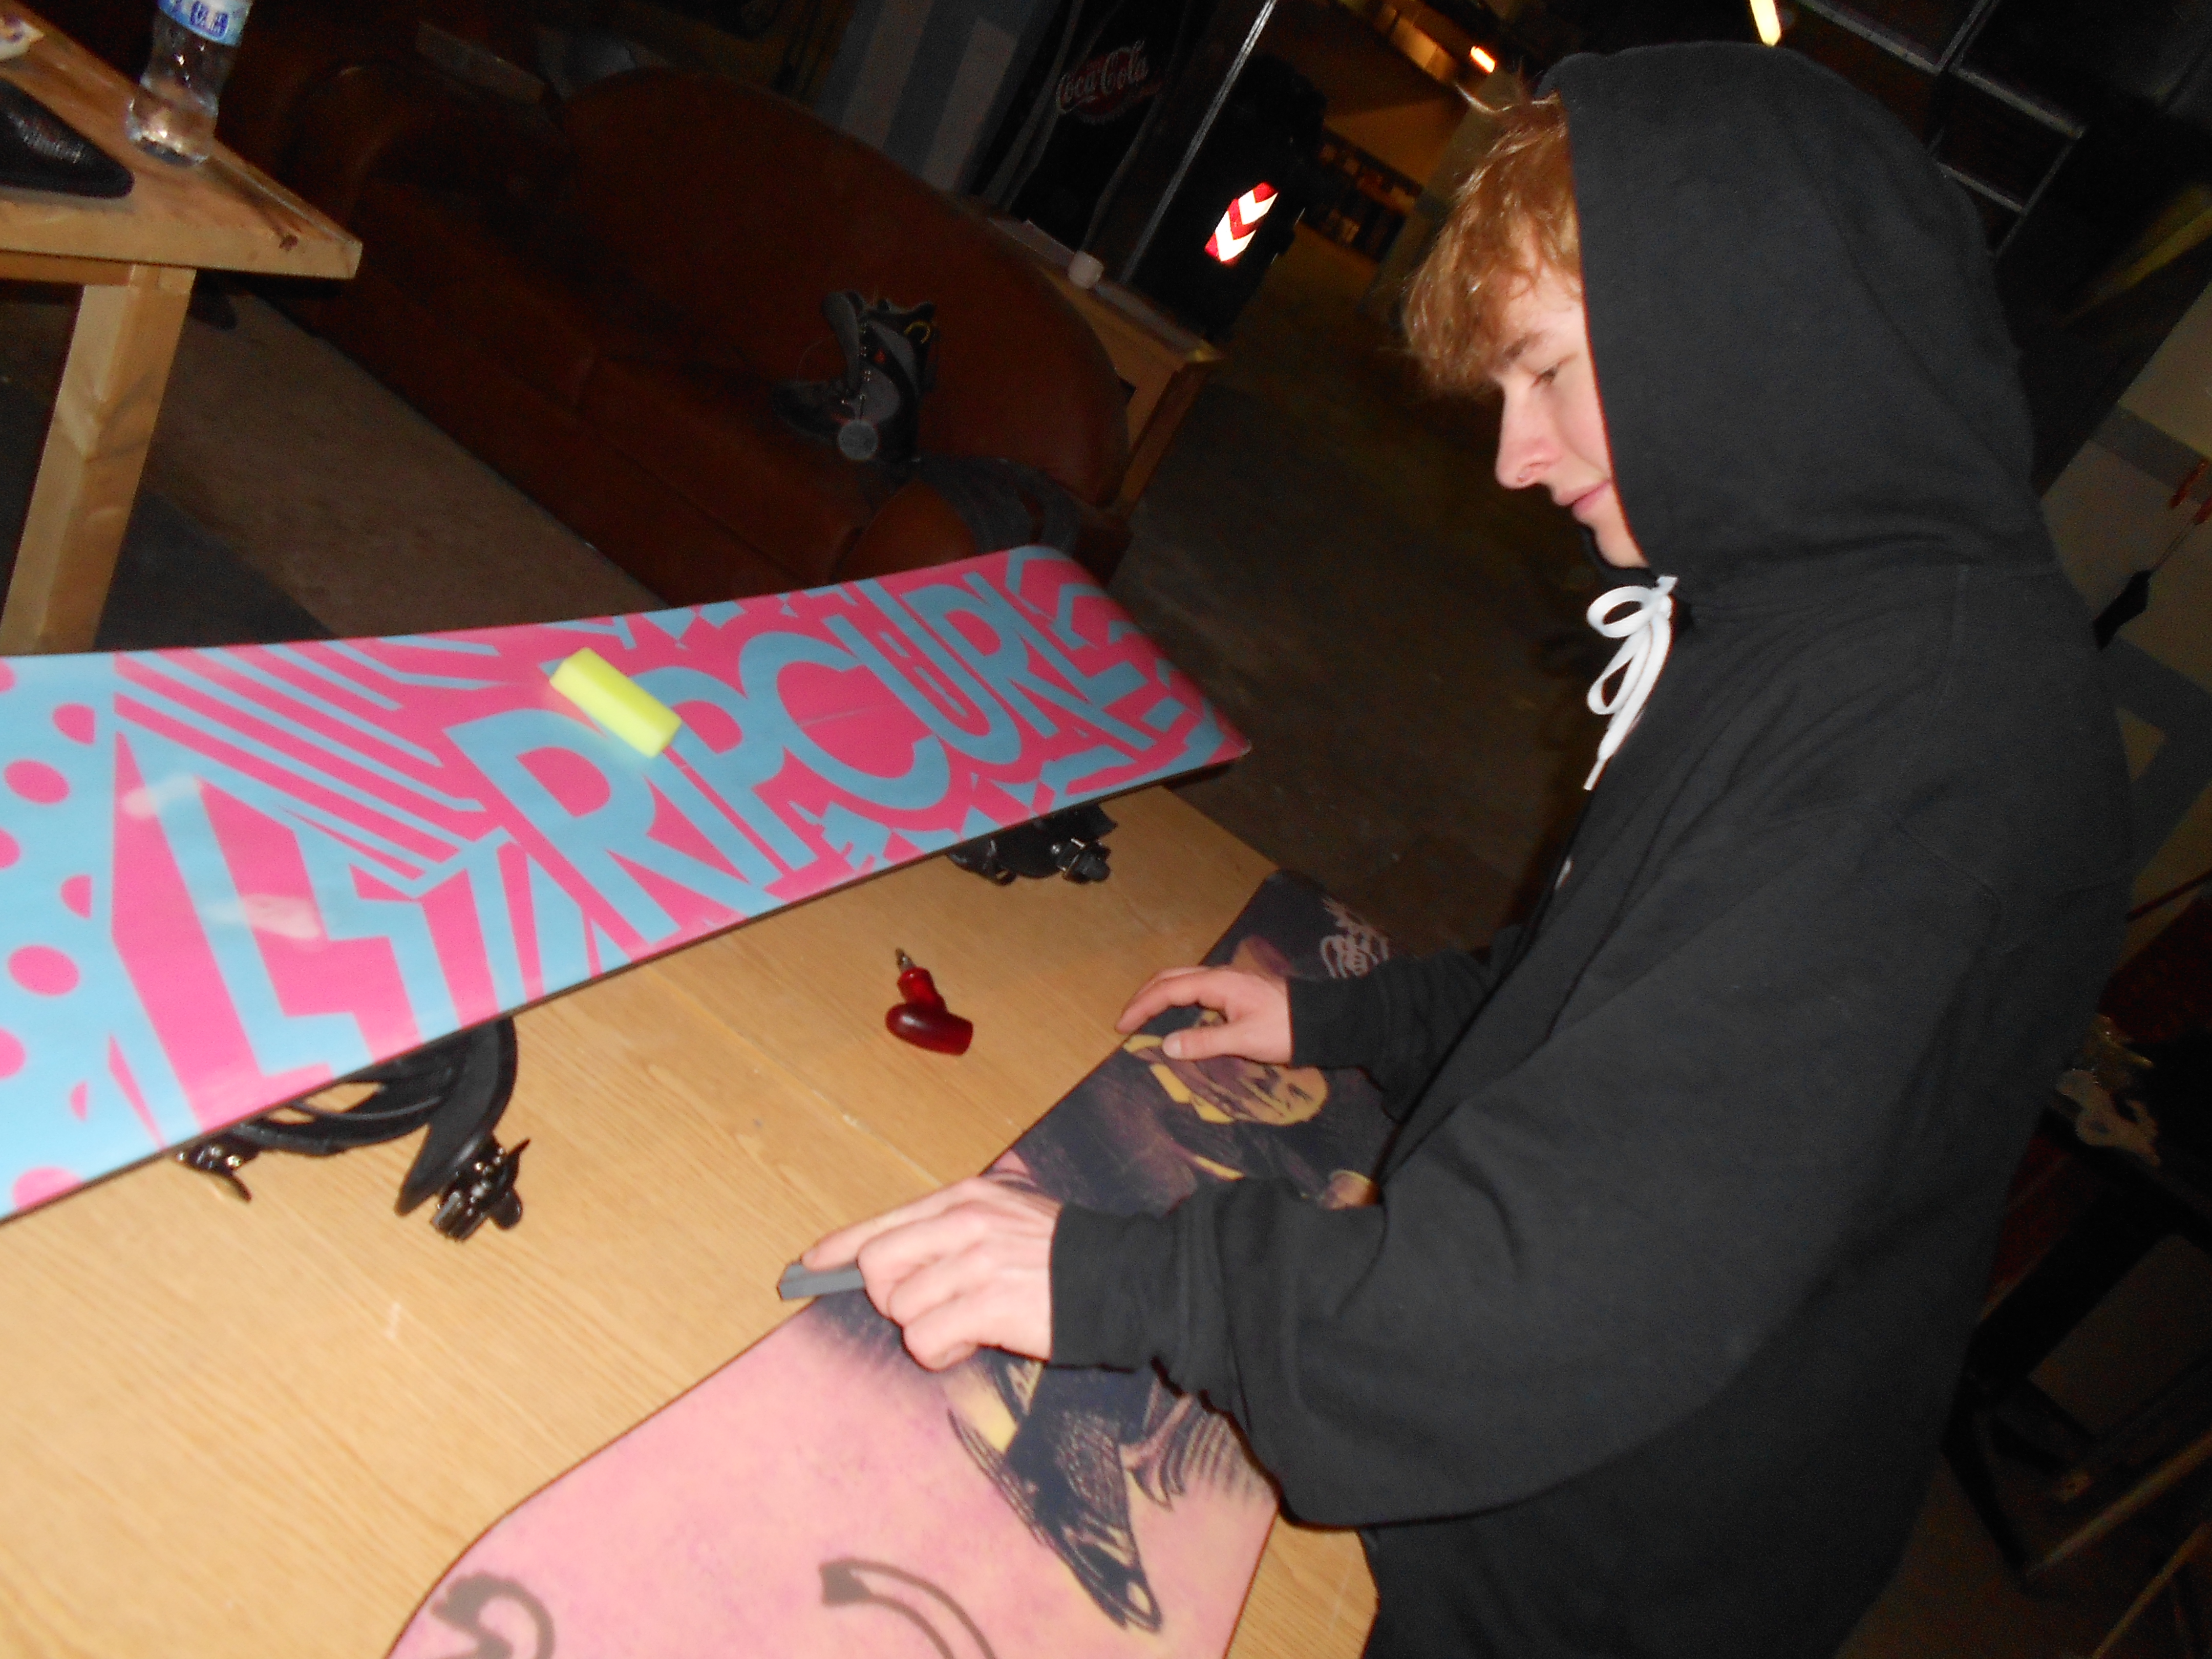
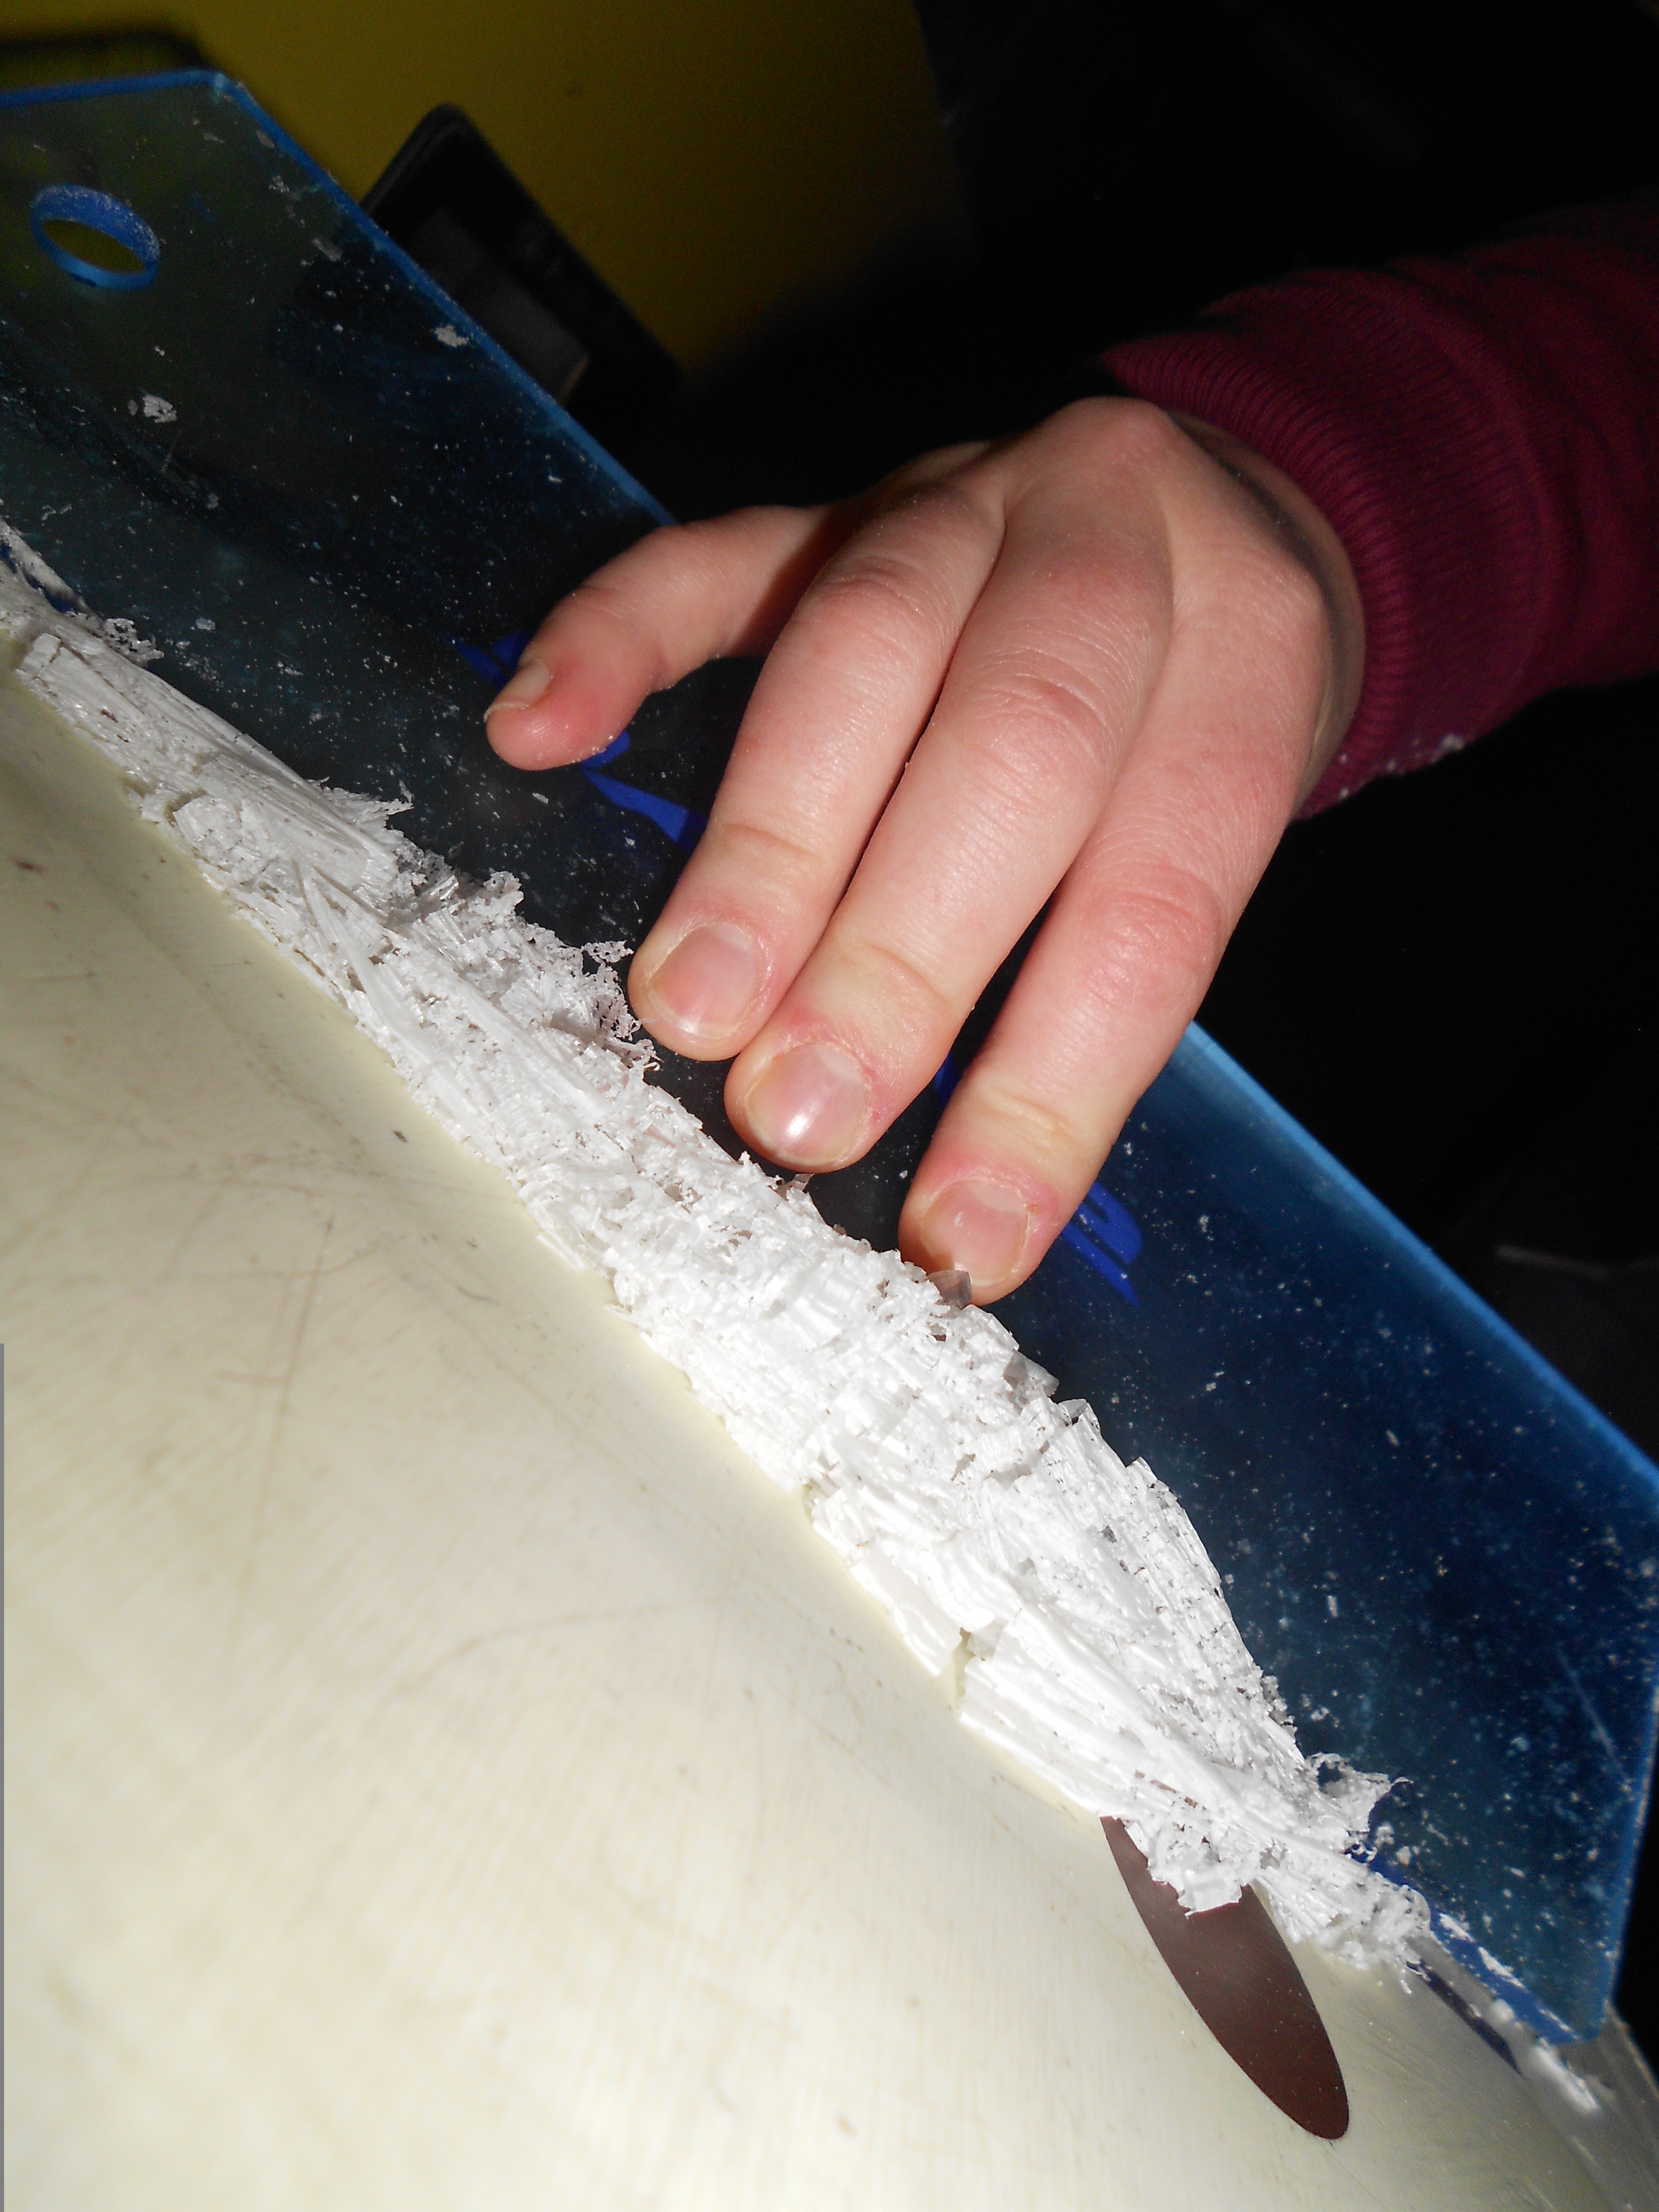
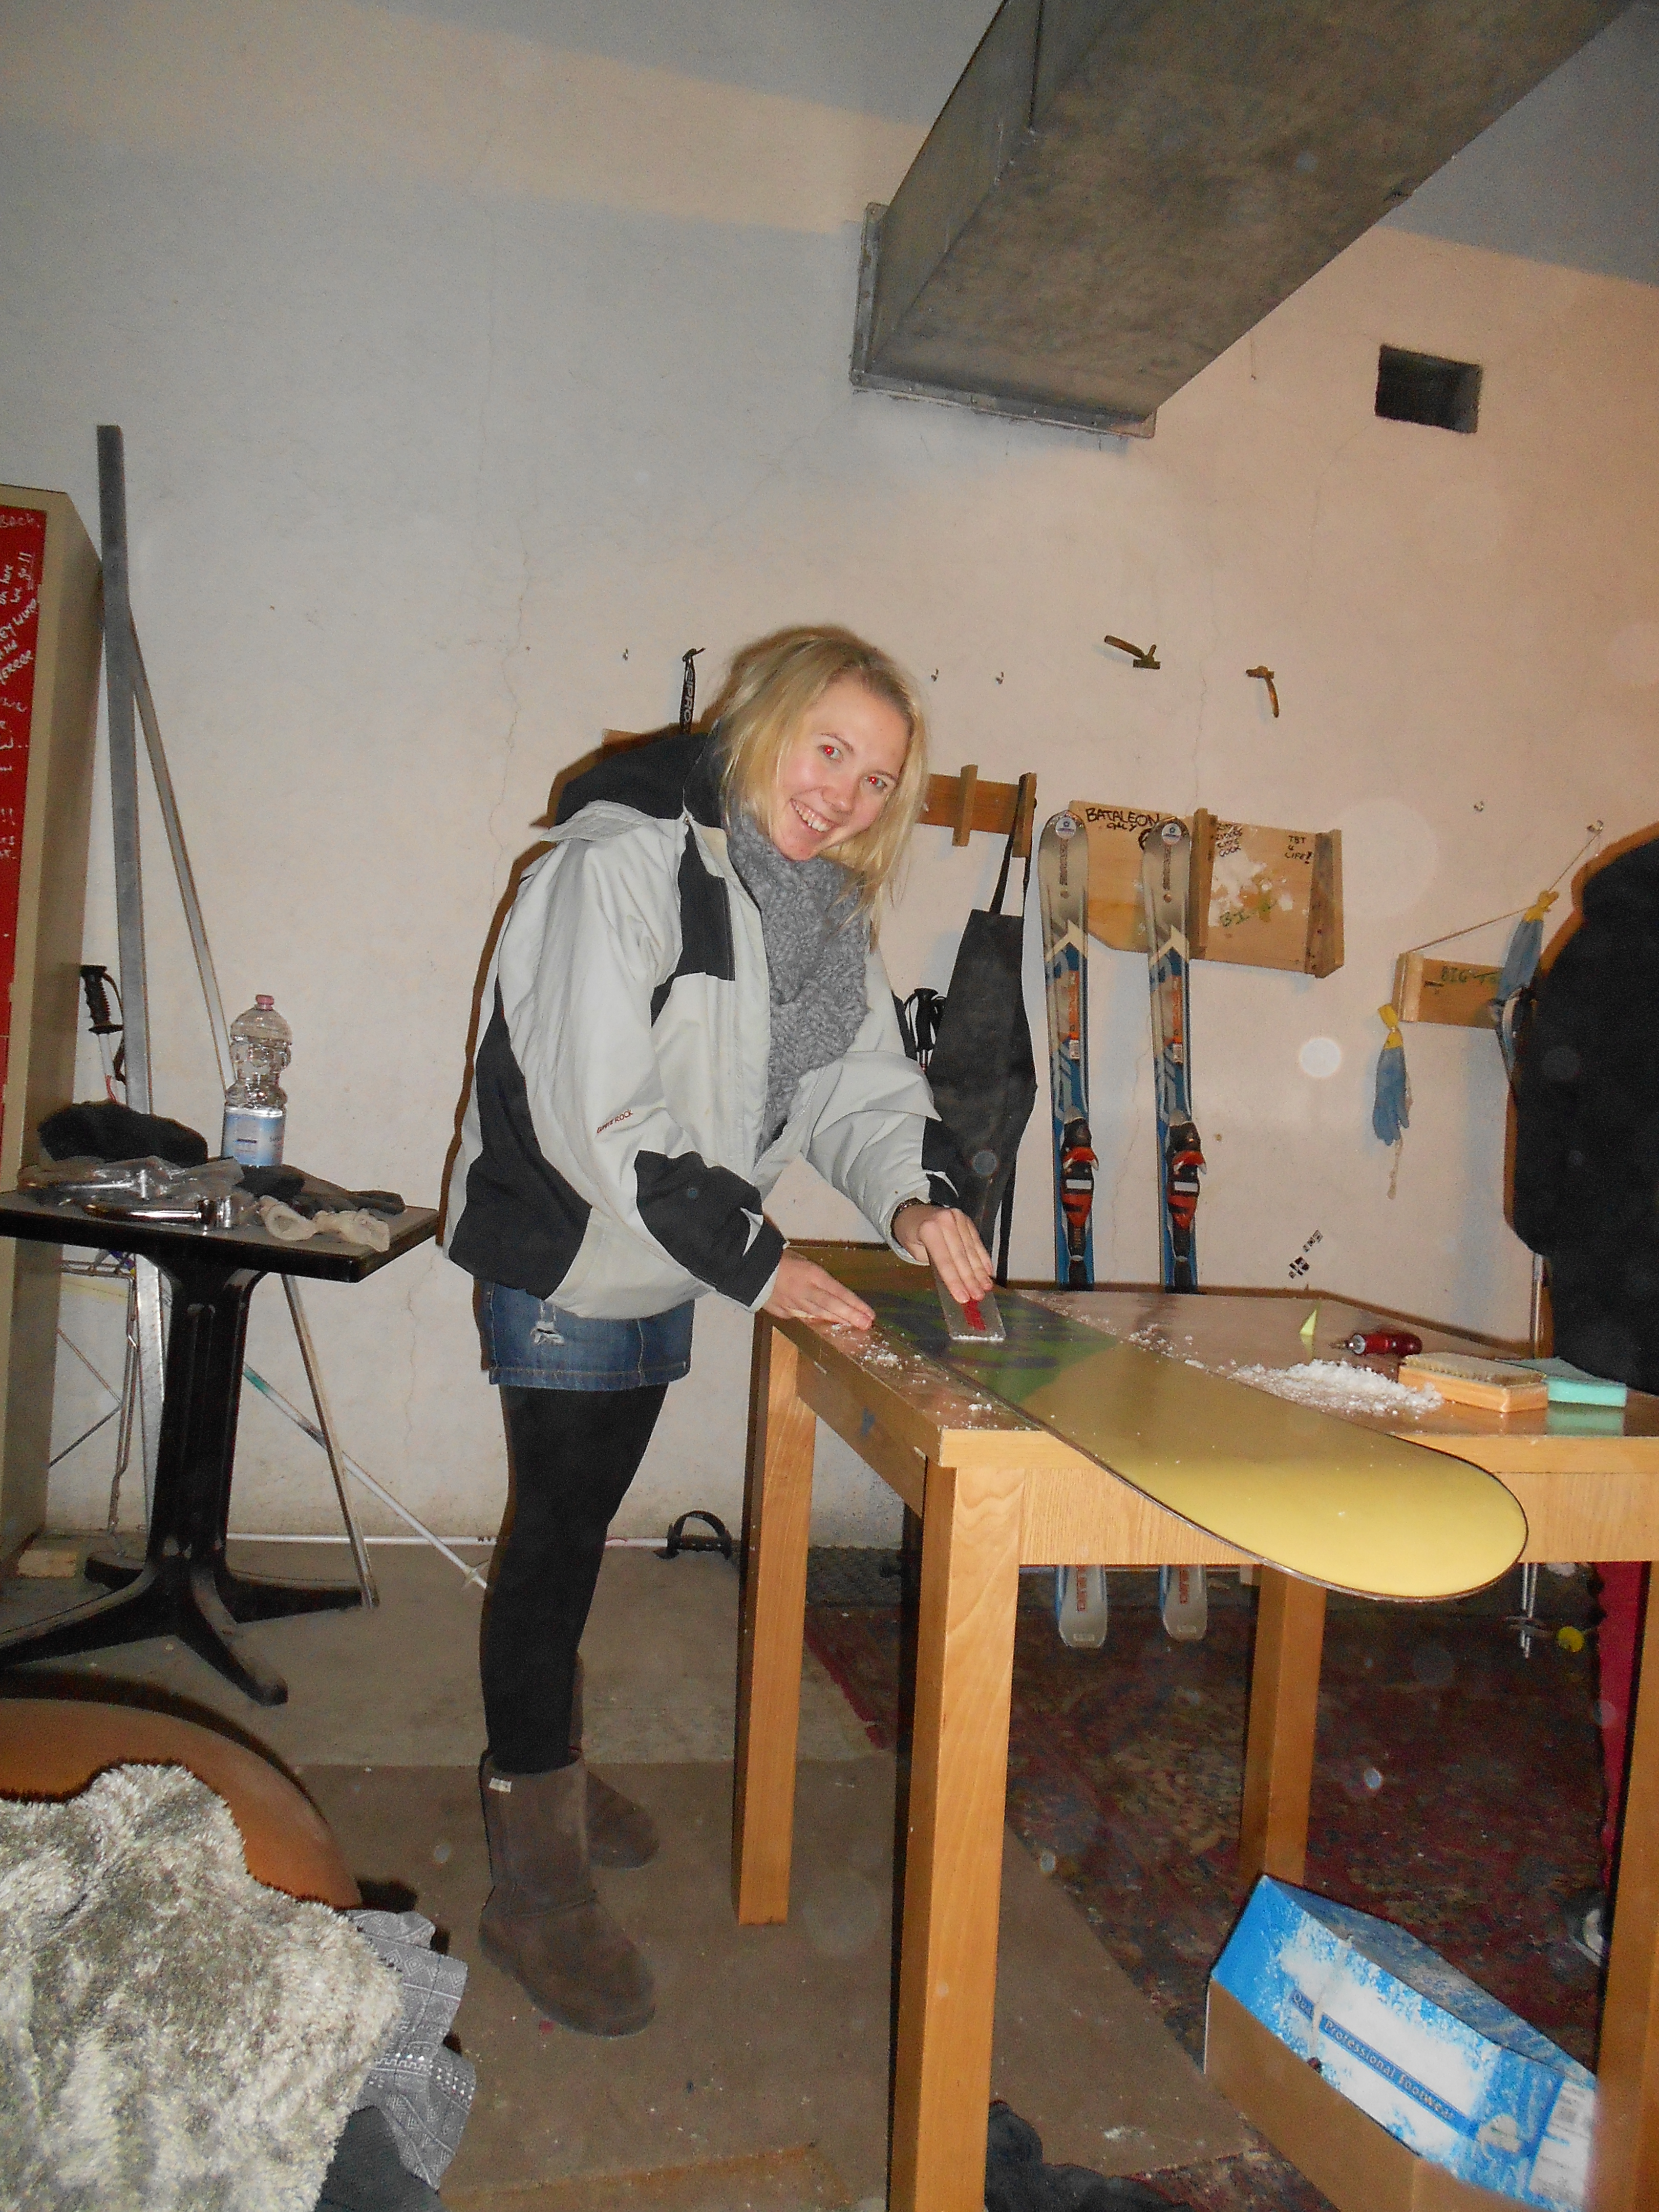
Keep that apron on and make sure you have a dust pan and brush ready! Grab your plastic scraper and scrape the board nose to tail. Do this until no more wax comes off the base, as any wax you leave on will only slow you down. What’s going to make your board fast has already penetrated into the board.
Step 5: Scouring
Steal a new green pot scouring pad from the kitchen and use it to polish the base to a shiny finish. This is very important, as it puts a ‘structure’ into the base, and leaves tiny channels for water and snow to flow along the surface.
Step 5: SHRED!
If you’re riding regally, I would try to wax about once a week. It really doesn’t have to be a chore: get some mates around and crack open a few beers. Experiment with different waxing and have fun: home brew wax mixing can produce some very interesting results!
At the end of the season, give your board a thick coat of wax and leave it on before it gets put away. This will help protect it over the summer, ready for next winters adventures.
